How to create custom user login authentication with session in ASP .Net Core MVC Visual Studio 2022
Please Subscribe Youtube| Like Facebook | Follow Twitter
Video URL: https://youtu.be/aRoYqITZSHU
Introduction
In this article we will create custom user login in ASP .Net Core MVC visual studio 2022 step by step. After this you will be able to allow your application only be visited by authorized registered users or users available in your database.
 GPD WIN Max 2 LPDDR5 32GB RAM 2TB SSD AMD R7 6800U Windows 11 Gaming Notebook
Steps:
1. Open SQL Server and create database named TestDB with Users table in SQL Server
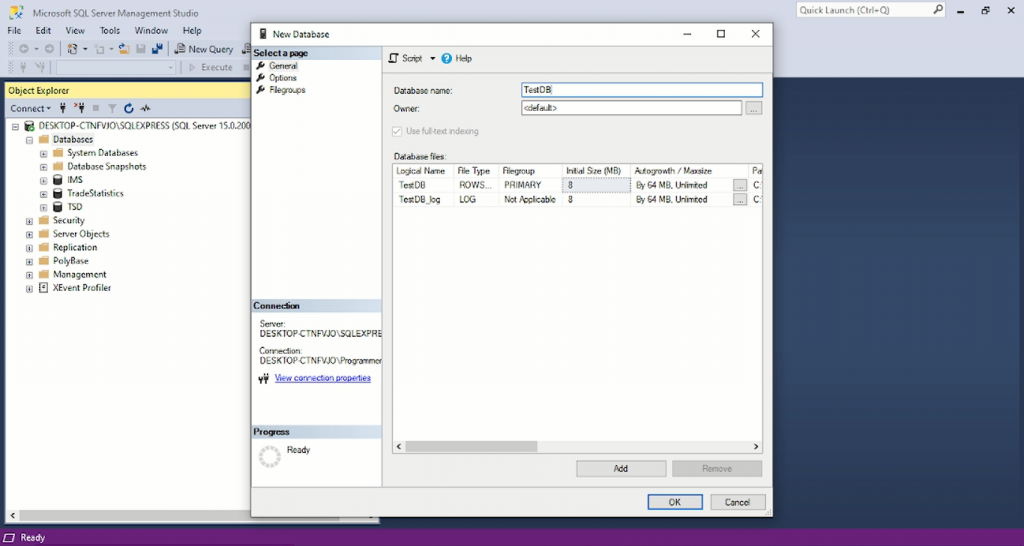
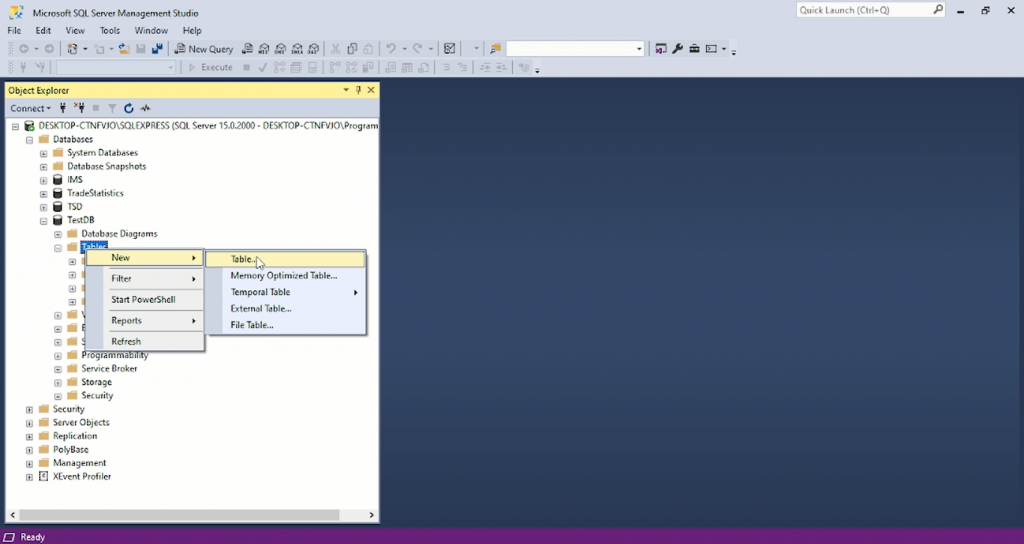
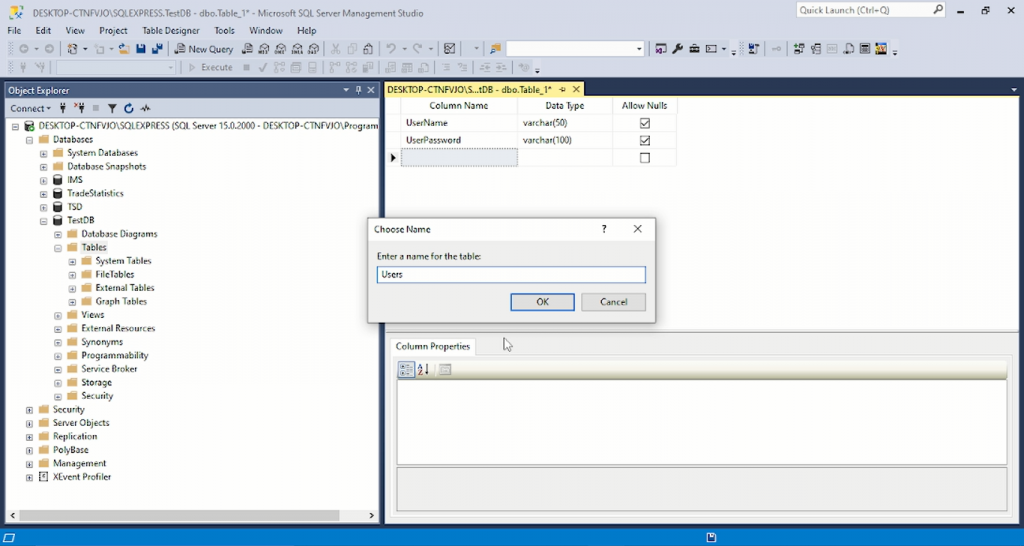
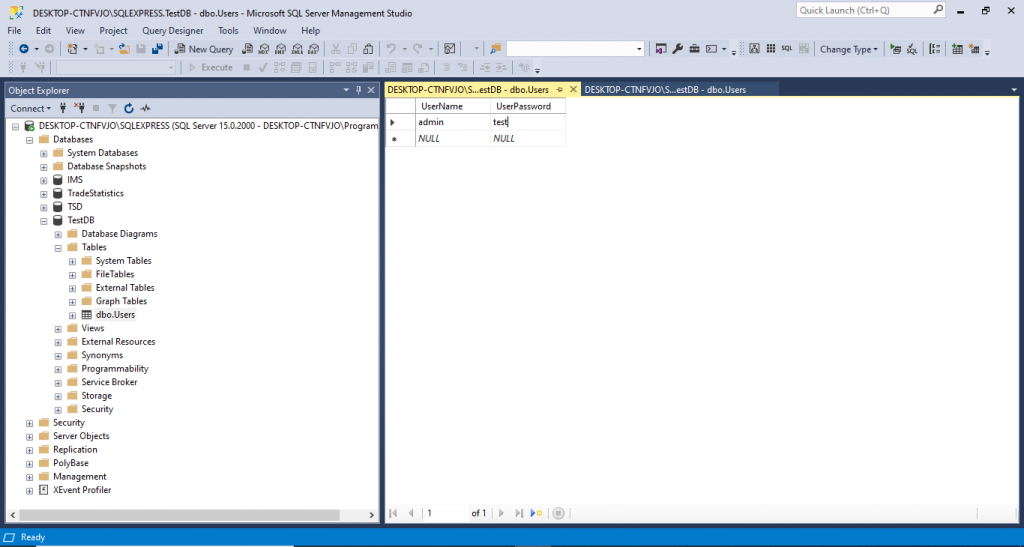
2. Open Visual studio and create visual studio 2022 ASP .Net Core MVC Project

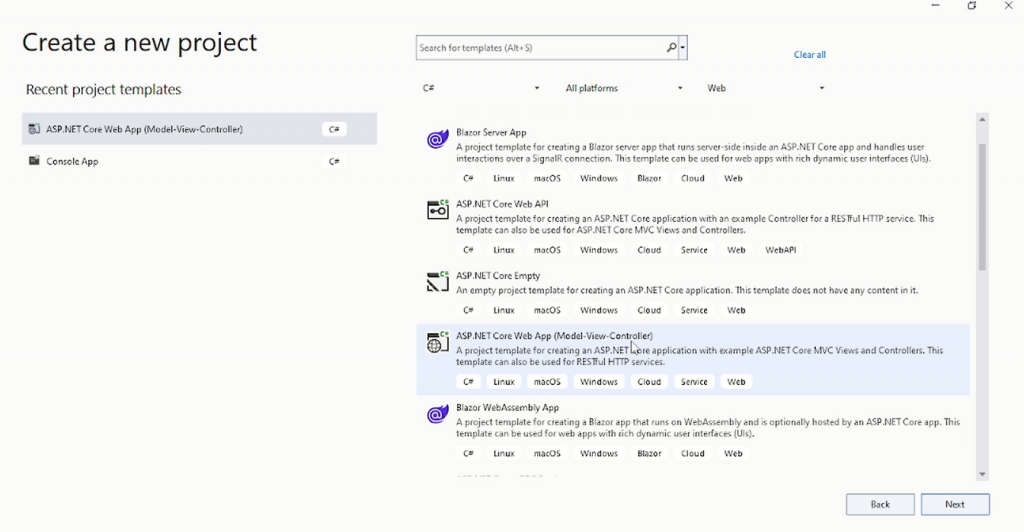
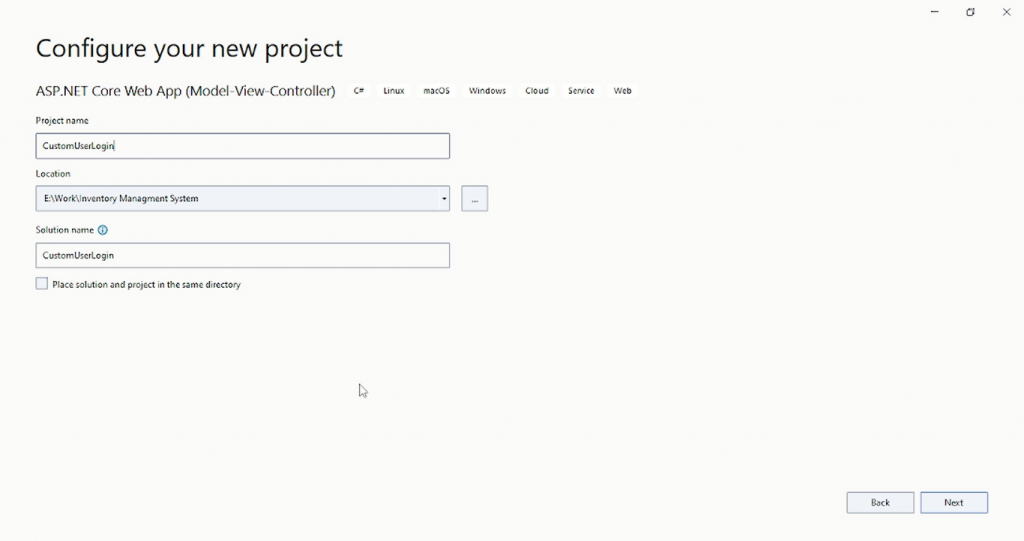
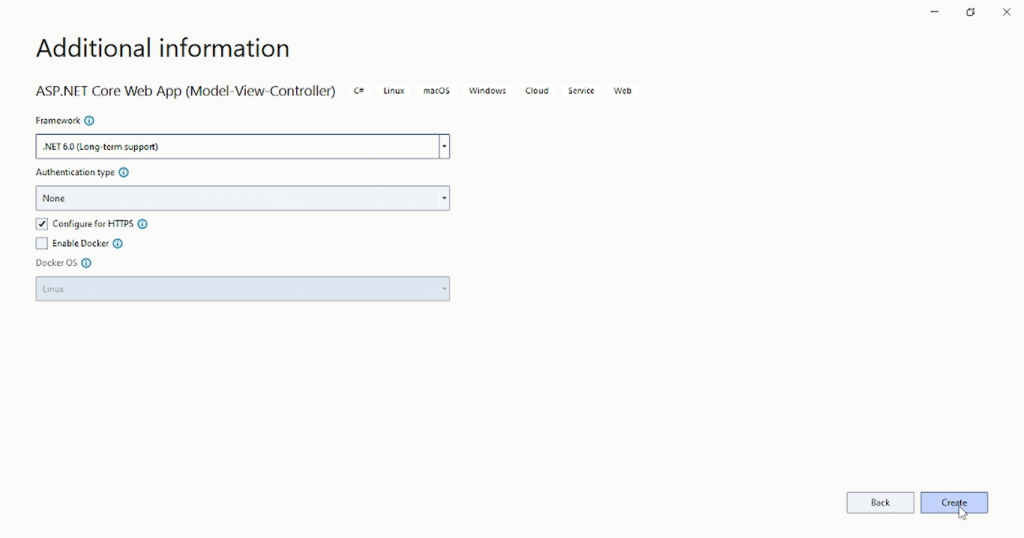
Install Required Nuget Packages
Select Tools menu, select NuGet Package Manager > Package Manager Console.
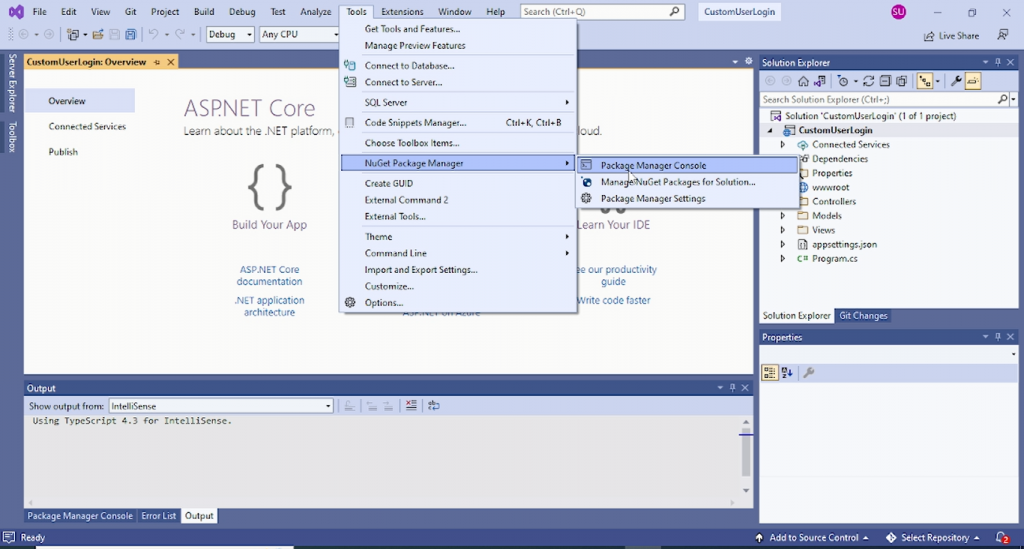
Install SQL Server provider by running the following command in the Package Manager Console.
Install-Package Microsoft.EntityFrameworkCore.SqlServer
To add Entity Framework Core Tool, run the following command,
Install-Package Microsoft.EntityFrameworkCore.Tools
4. Create Model from TestDB Database by using following command which contains your SQL server name and database name
We will use the following Scaffold-DbContext command to create a model from our existing database
Scaffold-DbContext "Server=DESKTOP-CTNFVJO\SQLEXPRESS;Database=TestDB;Trusted_Connection=True;" Microsoft.EntityFrameworkCore.SqlServer -OutputDir Models
5. Create Login view with following HTML
	@model CustomUserLogin.Models.User
	@{
    		Layout = null;
	}
	<body>

                    @using (Html.BeginForm("Login", "Home", FormMethod.Post))
                    {
                        @Html.AntiForgeryToken()
                        @Html.ValidationSummary(true)
                        @Html.TextBoxFor(m => m.UserName, new { @class = "form-control", id = "UserName", placeholder = "Email address", required = "required", autofocus = "autofocus" })
                        @Html.TextBoxFor(m => m.UserPassword, new { @class = "form-control", type = "password", placeholder = "Password", required = "" })
                        <button type="submit">Sign in</button>

                    }
	</body>
6. Add following Login named Get and Post actions in Home controller
        // Get Action
        public IActionResult Login()
        {

            if (HttpContext.Session.GetString("UserName") == null)
            {
                return View();
            }
            else
            {
                return RedirectToAction("Index");
            }
        }

	//Post Action
	[HttpPost]
        public ActionResult Login(User u)
        {
            if (HttpContext.Session.GetString("UserName") == null)
            {

                if (ModelState.IsValid)
                {
                    using (TestDBContext db = new TestDBContext())
                    {
                        var obj = db.Users.Where(a => a.UserName.Equals(u.UserName) && a.UserPassword.Equals(u.UserPassword)).FirstOrDefault();
                        if (obj != null)
                        {
                            HttpContext.Session.SetString("UserName", obj.UserName.ToString());
                            return RedirectToAction("Index");
                        }
                    }
                }
            }
            else
            {


                return RedirectToAction("Login");
            }
            return View();


        }
7. Go to your Program.cs first (to add the following code there)
After builder.Services.AddControllersWithViews() add following line of code
builder.Services.AddSession();After app.UseAuthorization() add following line of code
app.UseSession();8. Create Utilities folder with class named Authentication
Add following code in Authentication class
        public class Authentication : ActionFilterAttribute
 	{
	        public override void OnActionExecuting(ActionExecutingContext filterContext)
        	{


           	 if (filterContext.HttpContext.Session.GetString("UserName") == null)
            	{
                	filterContext.Result = new RedirectToRouteResult(
                    new RouteValueDictionary {
                                { "Controller", "Home" },
                                { "Action", "Login" }
                                });
            	}

        	}
      }
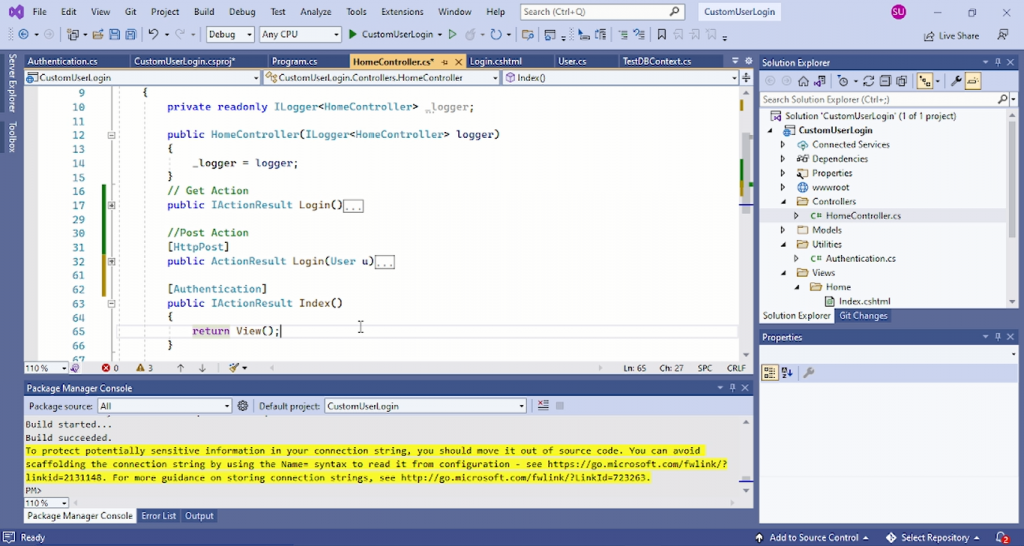
9. Put Authentication class as an attribute where do you want to provide Authentication
10. Go to Shared/_Layout.cshtml and add following html code for Logout link
<li class="nav-item">
                <a class="nav-link text-dark" asp-area="" asp-controller="Home" asp-action="Logout">Logout</a>
</li>
11. Add following Logout action code in Home controller
       public ActionResult Logout()
       {

            HttpContext.Session.Clear();
            HttpContext.Session.Remove("UserName");

            return RedirectToAction("Login");
} Mens Winter Single Breasted Big Pockets Mid Long Casual Coats
 Mens Contrast Patchwork Flap Pocket Decoration Short Sleeve T-Shirts
 Orange Pi 800 Development Board 4GB RAM 64GB
 Mens Casual Corduroy Hooded Button Pocket Comfy Shirts
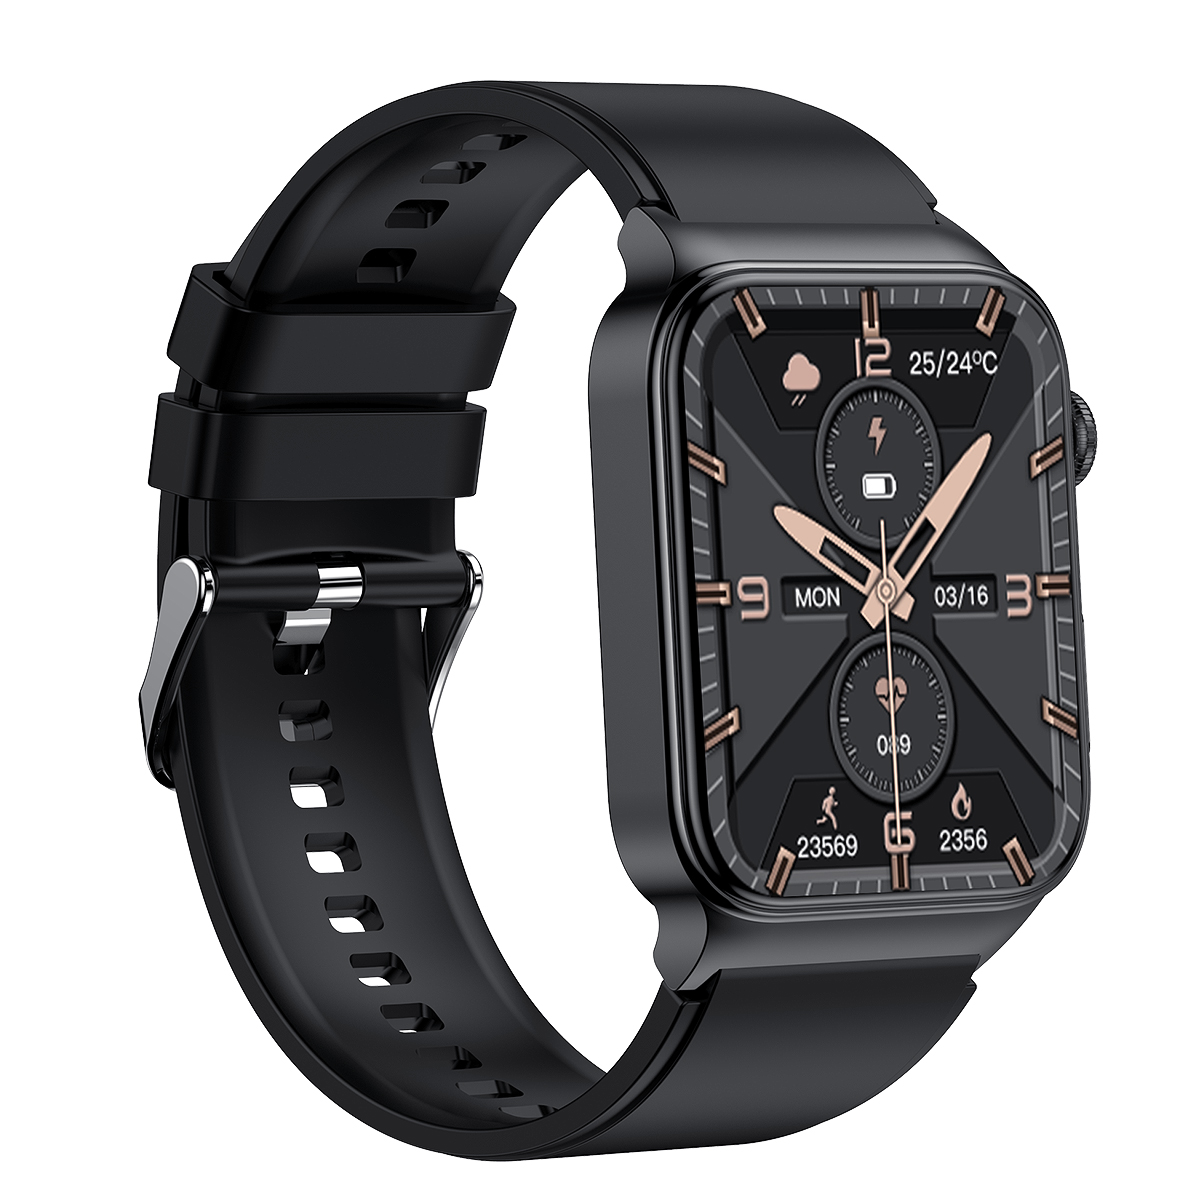 E500 1.83 inch HD Screen ECG Monitor Heart Rate Blood Pressure
 35L Outdoor Backpack Men Women Waterproof Travel Trekking Backpack
 Home Steam Sauna Box Steam Room Fumigation Machine Steam Sauna Bath Sauna Heater
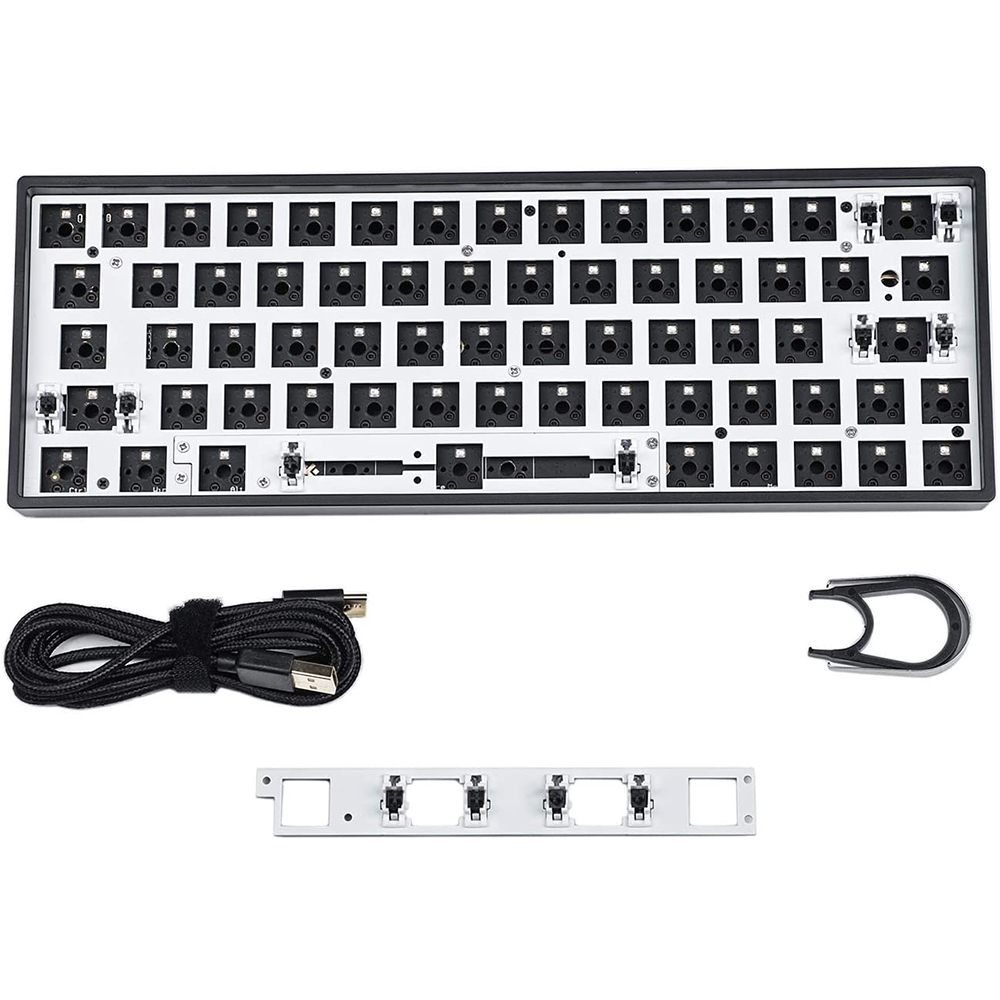 SKYLOONG GK64X GK64XS Keyboard Kit RGB Hot Swappable 60% Programmable bluetooth Wired Case Customized Kit PCB Mounting Plate Case with Replacable Space Key
Hi, I have been able to solve it!!
Thank’s!!
great sorry for late reply
Hi, i have a problem: I wrote the code almost the same as yours, but this validation returns null : if (filterContext.HttpContext.Session.GetString(“Usuario”) == null), so , always goes to login page…
Do you help me?
Try this:
if (Session[“UserName”] != null)