How to Perform Scaffolding in ASP.NET Core Using EF Core DB First Approach
Please Subscribe Youtube| Like Facebook | Follow Twitter
Introduction
In this article, we will perform scaffold CRUD operations in ASP.NET Core using the EF Core Database First Approach. Creating a model from an existing database is known as the Database First Approach. Scaffolding is a technique used to generate views and controllers based on the model present in the application. Using scaffolding, you can save your time by creating CRUD operations automatically from your model. We have to perform the following steps to achieve the desired goal.
- Create SQL Table
- Create ASP.NET Core Web Application Project
- Install Required Packages
- Create Model from Existing Database
- Add Controller
- Test and run the application
Create SQL Table
Create a database named TestDB in SQL Server Management Studio and then create a table named EmployeeMaster in it which will have three columns EmployeeID, EmployeeFirstName, and EmployeeLastName. Here is a table query:
CREATE TABLE EmployeeMaster (
    EmployeeID INT   NOT NULL  IDENTITY    PRIMARY KEY,
    EmployeeFirstName varchar(255) NOT NULL,
    EmployeeLastName  varchar(255) NOT NULL
);
Create ASP.NET Core Web Application Project
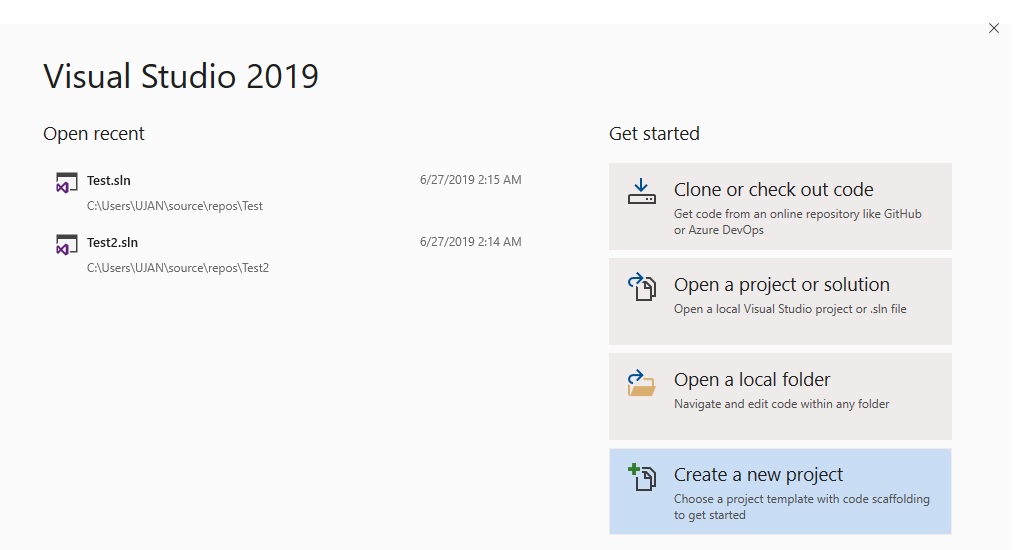
Now we will create an ASP.NET Core Web Application project.
Step 1
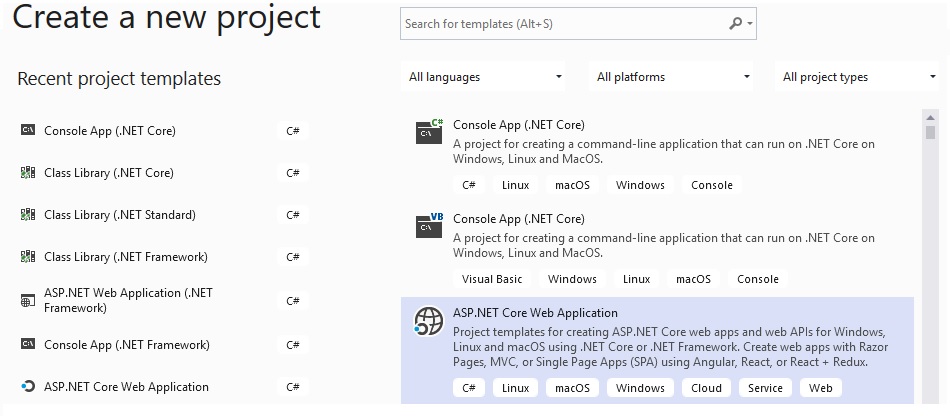
Step 2
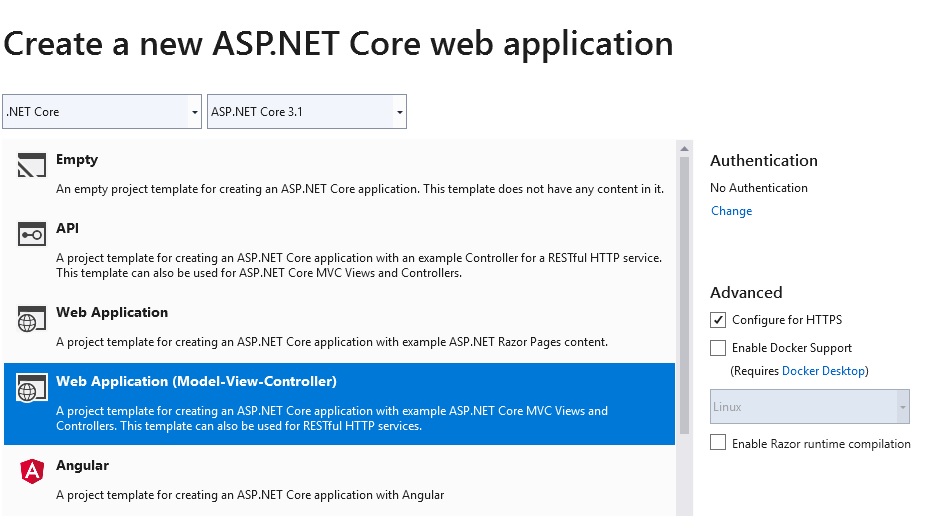
Step 3
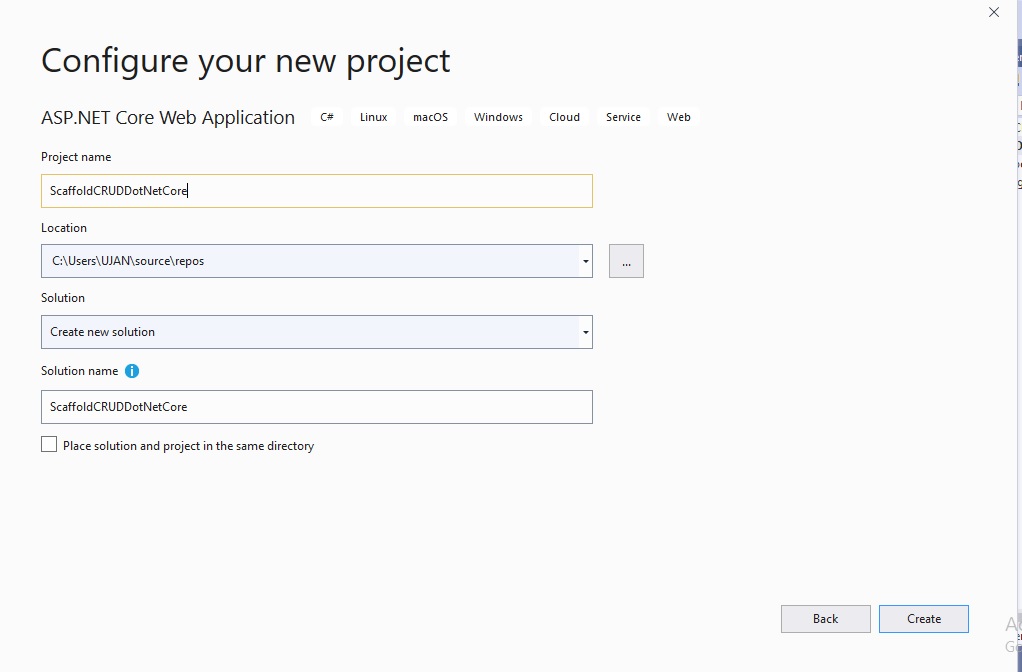
Step 4
Install Required Nuget Packages
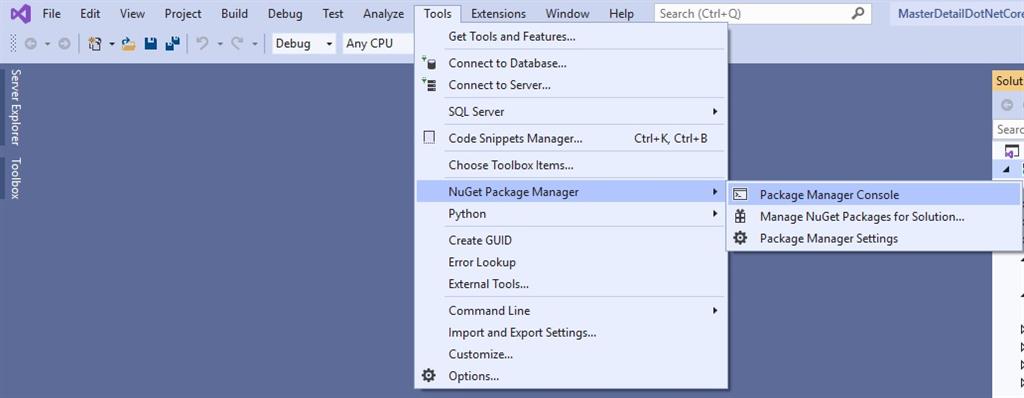
Select Tools menu, select NuGet Package Manager > Package Manager Console.
Install SQL Server provider by running the following command in the Package Manager Console.
Install-Package Microsoft.EntityFrameworkCore.SqlServer To add Entity Framework Core Tool, run the following command,
Install-Package Microsoft.EntityFrameworkCore.Tools Create Model from Existing Database
We will use the following Scaffold-DbContext command to create a model from our existing database
Scaffold-DbContext "Server=DESKTOP-GV4424J;Database=TestDB;Trusted_Connection=True;" Microsoft.EntityFrameworkCore.SqlServer -OutputDir Models In the above command, the first parameter is connection string, the second parameter is provider name and third parameter –OutputDir is used to determine where our all classes will be generated. After running the command EmployeeMaster class and TestDBContext class (by deriving DbContext) from our TestDB will be created under the Models folder.
Add Controller
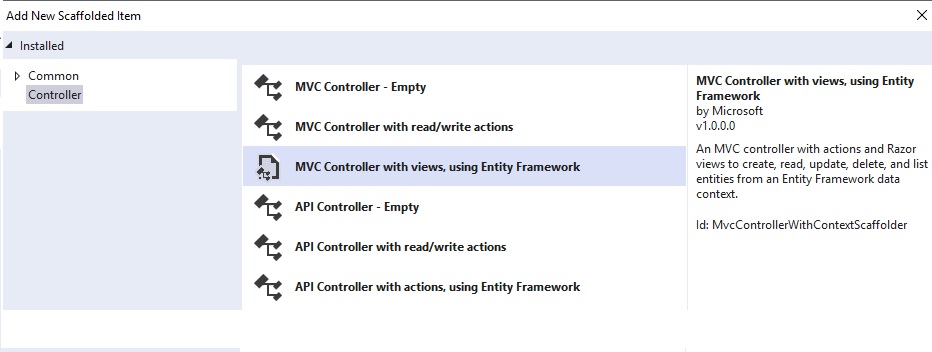
Right-click on the controller. Add->Controller. Select the MVC Controller with the views, using the entity framework.
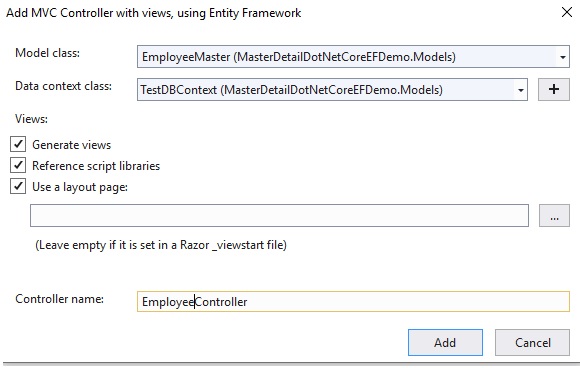
Select EmployeeMaster class as a model class, TestDBContext as Data context class and Name Controller as EmployeeController as shown below.
After creating a controller, all CRUD operations for the controller will be automatically generated.
public class EmployeeController : Controller
{
    private readonly TestDBContext _context;

    public EmployeeController(TestDBContext context)
    {
        _context = context;
    }

    // GET: Employee
    public async Task<IActionResult> Index()
    {
        return View(await _context.EmployeeMaster.ToListAsync());
    }

    // GET: Employee/Details/5
    public async Task<IActionResult> Details(int? id)
    {
        if (id == null)
        {
            return NotFound();
        }

        var employeeMaster = await _context.EmployeeMaster
            .FirstOrDefaultAsync(m => m.EmployeeId == id);
        if (employeeMaster == null)
        {
            return NotFound();
        }

        return View(employeeMaster);
    }

    // GET: Employee/Create
    public IActionResult Create()
    {
        return View();
    }

    // POST: Employee/Create
    // To protect from overposting attacks, please enable the specific properties you want to bind to, for
    // more details see http://go.microsoft.com/fwlink/?LinkId=317598.
    [HttpPost]
    [ValidateAntiForgeryToken]
    public async Task<IActionResult> Create([Bind("EmployeeId,EmployeeFirstName,EmployeeLastName")] EmployeeMaster employeeMaster)
    {
        if (ModelState.IsValid)
        {
            _context.Add(employeeMaster);
            await _context.SaveChangesAsync();
            return RedirectToAction(nameof(Index));
        }
        return View(employeeMaster);
    }

    // GET: Employee/Edit/5
    public async Task<IActionResult> Edit(int? id)
    {
        if (id == null)
        {
            return NotFound();
        }

        var employeeMaster = await _context.EmployeeMaster.FindAsync(id);
        if (employeeMaster == null)
        {
            return NotFound();
        }
        return View(employeeMaster);
    }

    // POST: Employee/Edit/5
    // To protect from overposting attacks, please enable the specific properties you want to bind to, for
    // more details see http://go.microsoft.com/fwlink/?LinkId=317598.
    [HttpPost]
    [ValidateAntiForgeryToken]
    public async Task<IActionResult> Edit(int id, [Bind("EmployeeId,EmployeeFirstName,EmployeeLastName")] EmployeeMaster employeeMaster)
    {
        if (id != employeeMaster.EmployeeId)
        {
            return NotFound();
        }

        if (ModelState.IsValid)
        {
            try
            {
                _context.Update(employeeMaster);
                await _context.SaveChangesAsync();
            }
            catch (DbUpdateConcurrencyException)
            {
                if (!EmployeeMasterExists(employeeMaster.EmployeeId))
                {
                    return NotFound();
                }
                else
                {
                    throw;
                }
            }
            return RedirectToAction(nameof(Index));
        }
        return View(employeeMaster);
    }

    // GET: Employee/Delete/5
    public async Task<IActionResult> Delete(int? id)
    {
        if (id == null)
        {
            return NotFound();
        }

        var employeeMaster = await _context.EmployeeMaster
            .FirstOrDefaultAsync(m => m.EmployeeId == id);
        if (employeeMaster == null)
        {
            return NotFound();
        }

        return View(employeeMaster);
    }

    // POST: Employee/Delete/5
    [HttpPost, ActionName("Delete")]
    [ValidateAntiForgeryToken]
    public async Task<IActionResult> DeleteConfirmed(int id)
    {
        var employeeMaster = await _context.EmployeeMaster.FindAsync(id);
        _context.EmployeeMaster.Remove(employeeMaster);
        await _context.SaveChangesAsync();
        return RedirectToAction(nameof(Index));
    }

    private bool EmployeeMasterExists(int id)
    {
        return _context.EmployeeMaster.Any(e => e.EmployeeId == id);
    }
}
Run the application
Before running the application open TestDBContext class and comment on the following code present in the OnConfiguring method.
protected override void OnConfiguring(DbContextOptionsBuilder optionsBuilder)
{
            if (!optionsBuilder.IsConfigured)
            {

//#warning To protect potentially sensitive information in your connection string, you should move it out of source code. See http://go.microsoft.com/fwlink/?LinkId=723263 for guidance on storing connection strings.
//                optionsBuilder.UseSqlServer("Server=DESKTOP-GV4424J;Database=TestDB;Trusted_Connection=True;");

            }
}
Add the following code in the ConfigureServices method in Startup class and then run the application.
public void ConfigureServices(IServiceCollection services)
{
services.AddControllersWithViews();
services.AddDbContext<TestDBContext>(options => options.UseSqlServer("Server=DESKTOP-GV4424J;Database=TestDB;Trusted_Connection=True;"));
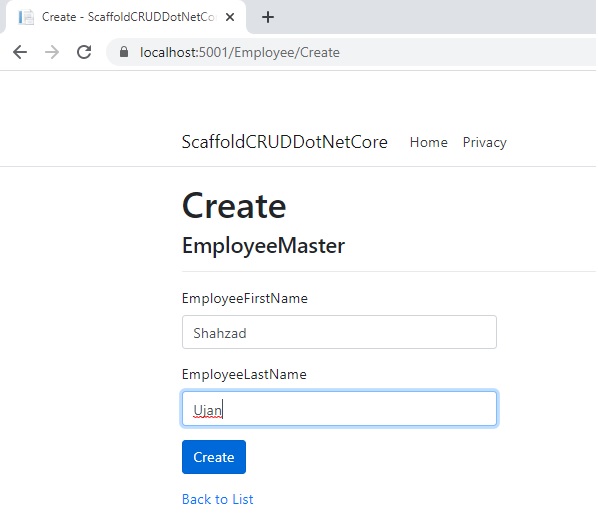
}Create
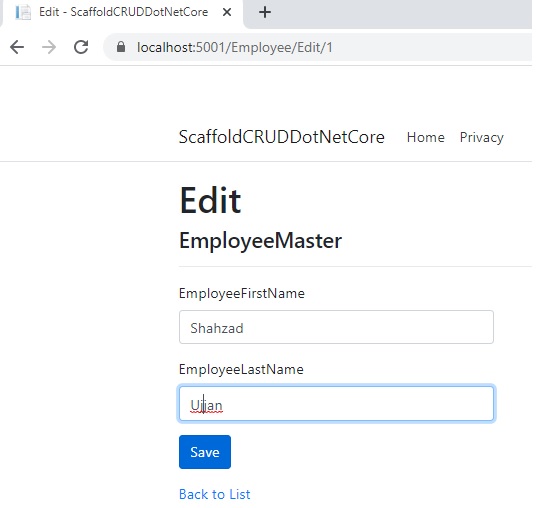
Update
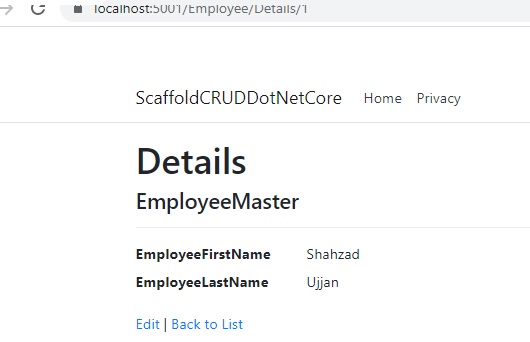
Read
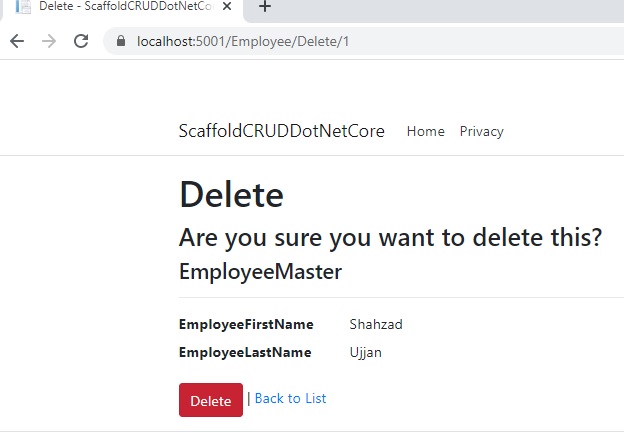
Delete
Summary
In this article, we have seen how to perform scaffolding in ASP.NET Core using EF Core.
Thanks for reading!
Please Subscribe Youtube| Like Facebook | Follow Twitter