Custom Filterable Multi-Select Dropdown Options in Android (Java/Kotlin)
Please Subscribe Youtube| Like Facebook | Follow Twitter
Custom Filterable Multi-Select Dropdown Options in Android
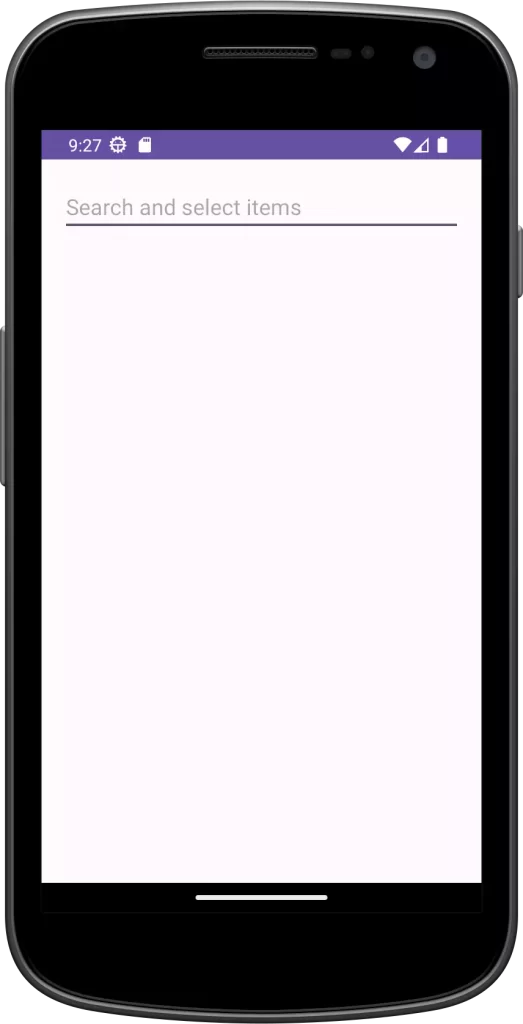
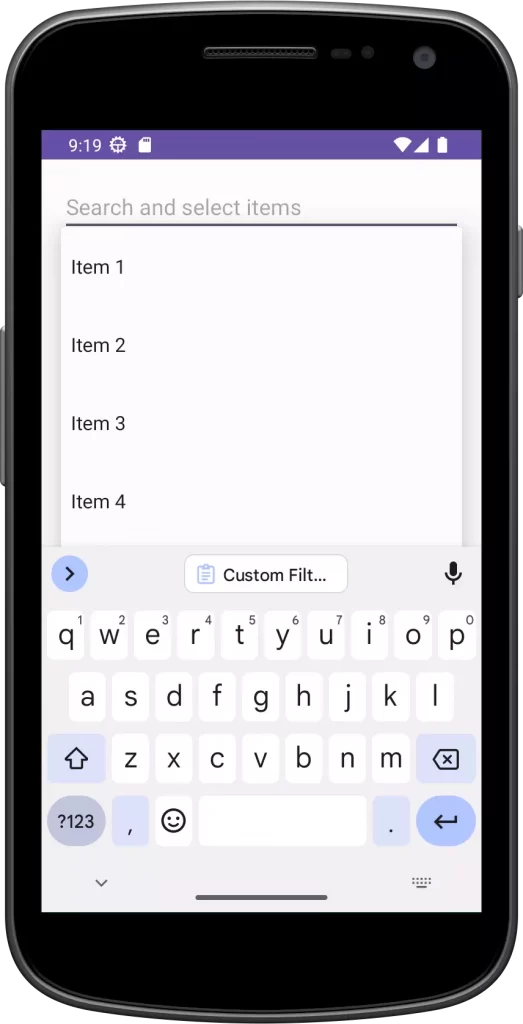
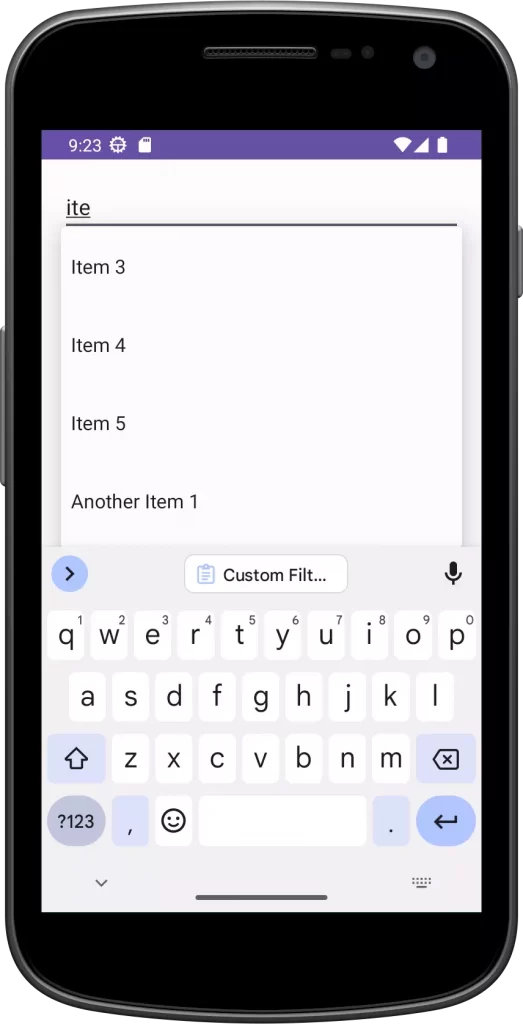
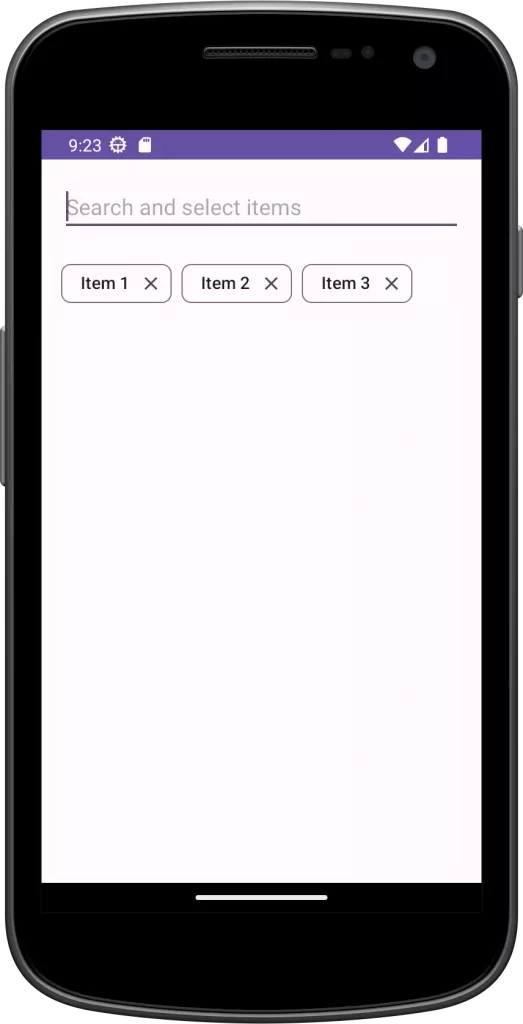
In this tutorial, we will learn how to create a Custom Filterable Multi-Select Dropdown Options in Android application using Java/Kotlin. The dropdown will allow users to search for options, select multiple items, and display the selected items as chips.
Implementation In Java
Step 1: Creating the MainActivity XML layout i.e activity_main.xml
In the res/layout folder of your Android project, create a new XML layout file named activity_main.xml. This layout will contain the AutoCompleteTextView for the dropdown and the ChipGroup to display selected items as chips. Here’s the XML code for the activity_main.xml layout:
<?xml version="1.0" encoding="utf-8"?>
<LinearLayout
    xmlns:android="http://schemas.android.com/apk/res/android"
    android:layout_width="match_parent"
    android:layout_height="match_parent"
    android:orientation="vertical"
    android:padding="16dp">

    <AutoCompleteTextView
        android:id="@+id/autoCompleteTextView"
        android:layout_width="match_parent"
        android:layout_height="wrap_content"
        android:hint="Search and select items" />

    <com.google.android.material.chip.ChipGroup
        android:id="@+id/chipGroup"
        android:layout_width="match_parent"
        android:layout_height="wrap_content"
        android:layout_marginTop="16dp" />

</LinearLayout>
Step 2: Implementing the MainActivity code i.e MainActivity.java
In this step, we will set up the MainActivity to handle the custom adapter, multi-select functionality, and the display of selected items as chips. We’ll start by creating the custom adapter, which will be responsible for handling the dropdown list and filtering of options.
Here’s the MainActivity code with the custom adapter and multi-select functionality:
package com.example.myapplication;

import android.os.Bundle;
import android.text.TextUtils;
import android.view.LayoutInflater;
import android.view.View;
import android.view.ViewGroup;
import android.widget.AutoCompleteTextView;
import android.widget.BaseAdapter;
import android.widget.Filter;
import android.widget.Filterable;
import android.widget.TextView;
import androidx.appcompat.app.AppCompatActivity;
import com.google.android.material.chip.Chip;
import com.google.android.material.chip.ChipGroup;
import java.util.ArrayList;
import java.util.Arrays;
import java.util.HashSet;
import java.util.List;
import java.util.Set;

public class MainActivity extends AppCompatActivity {

    // Array containing all available items
    private String[] allItems = {
            "Item 1", "Item 2", "Item 3", "Item 4", "Item 5",
            "Another Item 1", "Another Item 2", "Another Item 3"
    };

    private Set<String> selectedItems = new HashSet<>(); // Set to store selected items
    private List<String> dropdownItems; // List to store items for the AutoCompleteTextView dropdown
    private AutoCompleteTextView autoCompleteTextView;
    private ChipGroup chipGroup;
    private CustomAdapter adapter;

    @Override
    protected void onCreate(Bundle savedInstanceState) {
        super.onCreate(savedInstanceState);
        setContentView(R.layout.activity_main);

        autoCompleteTextView = findViewById(R.id.autoCompleteTextView);
        chipGroup = findViewById(R.id.chipGroup);

        dropdownItems = new ArrayList<>(Arrays.asList(allItems));
        adapter = new CustomAdapter(dropdownItems);

        // Populate the AutoCompleteTextView with all items
        autoCompleteTextView.setAdapter(adapter);

        // Listen for item selection in the AutoCompleteTextView
        autoCompleteTextView.setOnItemClickListener((parent, view, position, id) -> {
            String selectedItem = adapter.getItem(position);
            if (selectedItems.contains(selectedItem)) {
                selectedItems.remove(selectedItem);
                removeChip(selectedItem);
                adapter.notifyDataSetChanged();
            } else {
                selectedItems.add(selectedItem);
                addChip(selectedItem);
                autoCompleteTextView.setText("");
                adapter.notifyDataSetChanged();
            }
        });

        // Listen for click on AutoCompleteTextView
        autoCompleteTextView.setOnClickListener(v -> {
             autoCompleteTextView.showDropDown();
        });
    }

    // Method to add a chip to the ChipGroup
    private void addChip(String text) {
        Chip chip = new Chip(this);
        chip.setText(text);
        chip.setCloseIconVisible(true);

        // Listen for click on the close icon of the chip
        chip.setOnCloseIconClickListener(v -> removeItem(text));

        chipGroup.addView(chip); // Add the chip to the ChipGroup
    }

    // Method to remove an item from the selected items and update the UI
    private void removeItem(String text) {
        selectedItems.remove(text);
        removeChip(text);
        adapter.notifyDataSetChanged();
    }

    // Method to remove a chip from the ChipGroup based on the text
    private void removeChip(String text) {
        for (int i = 0; i < chipGroup.getChildCount(); i++) {
            View child = chipGroup.getChildAt(i);
            if (child instanceof Chip) {
                Chip chip = (Chip) child;
                if (chip.getText().toString().equals(text)) {
                    chipGroup.removeView(chip);
                    break;
                }
            }
        }
    }

    private class CustomAdapter extends BaseAdapter implements Filterable {
        private List<String> data; // List to store the filtered data displayed in the AutoCompleteTextView dropdown
        private List<String> originalData; // List to store the original data before filtering
        private ItemFilter itemFilter = new ItemFilter(); // Filter used to perform filtering of data

        CustomAdapter(List<String> data) {
            this.data = data;
            this.originalData = new ArrayList<>(data);
        }

        @Override
        public int getCount() {
            return data.size(); // Return the number of items in the filtered data
        }

        @Override
        public String getItem(int position) {
            return data.get(position); // Get an item from the filtered data at a given position
        }

        @Override
        public long getItemId(int position) {
            return position; // Get the ID of an item in the filtered data at a given position
        }

        @Override
        public View getView(int position, View convertView, ViewGroup parent) {
            if (convertView == null) {
                // Inflate the layout for each item in the AutoCompleteTextView dropdown if it's not already created
                convertView = LayoutInflater.from(parent.getContext()).inflate(android.R.layout.simple_dropdown_item_1line, parent, false);
            }
            TextView textView = convertView.findViewById(android.R.id.text1);
            textView.setText(getItem(position)); // Set the text of the dropdown item to the current item in the filtered data
            return convertView;
        }

        void remove(String item) {
            data.remove(item); // Remove a specific item from the filtered data
        }

        @Override
        public Filter getFilter() {
            return itemFilter; // Get the custom filter used for filtering data in the AutoCompleteTextView
        }

        private class ItemFilter extends Filter {
            @Override
            protected FilterResults performFiltering(CharSequence constraint) {
                FilterResults filterResults = new FilterResults();
                List<String> filteredList = new ArrayList<>();
                if (TextUtils.isEmpty(constraint)) {
                    // If the constraint is empty, show all original data items
                    filteredList.addAll(originalData);
                } else {
                    // Filter the original data based on the constraint (user input)
                    for (String item : originalData) {
                        if (!selectedItems.contains(item) && item.toLowerCase().contains(constraint.toString().toLowerCase())) {
                            // Add items to the filtered list that match the constraint and are not selected yet
                            filteredList.add(item);
                        }
                    }
                }
                filterResults.values = filteredList;
                filterResults.count = filteredList.size();
                return filterResults;
            }

            @Override
            protected void publishResults(CharSequence constraint, FilterResults results) {
                // Update the data with the filtered list and notify the adapter about the changes
                data.clear();
                data.addAll((List<String>) results.values);
                notifyDataSetChanged();
            }
        }
    }
}
Implementation In Kotlin
Step 1: Creating the MainActivity XML layout i.e activity_main.xml
In the res/layout folder of your Android project, create a new XML layout file named activity_main.xml. This layout will contain the AutoCompleteTextView for the dropdown and the ChipGroup to display selected items as chips. Here’s the XML code for the activity_main.xml layout:
<?xml version="1.0" encoding="utf-8"?>
<LinearLayout
    xmlns:android="http://schemas.android.com/apk/res/android"
    android:layout_width="match_parent"
    android:layout_height="match_parent"
    android:orientation="vertical"
    android:padding="16dp">

    <AutoCompleteTextView
        android:id="@+id/autoCompleteTextView"
        android:layout_width="match_parent"
        android:layout_height="wrap_content"
        android:hint="Search and select items" />

    <com.google.android.material.chip.ChipGroup
        android:id="@+id/chipGroup"
        android:layout_width="match_parent"
        android:layout_height="wrap_content"
        android:layout_marginTop="16dp" />

</LinearLayout>
Step 2: Implementing the MainActivity code i.e MainActivity.kt
In this step, we will set up the MainActivity to handle the custom adapter, multi-select functionality, and the display of selected items as chips. We’ll start by creating the custom adapter, which will be responsible for handling the dropdown list and filtering of options.
Here’s the MainActivity code with the custom adapter and multi-select functionality:
package com.example.myapplication

import android.os.Bundle
import android.text.TextUtils
import android.view.LayoutInflater
import android.view.View
import android.view.ViewGroup
import android.widget.AdapterView
import android.widget.AutoCompleteTextView
import android.widget.BaseAdapter
import android.widget.Filter
import android.widget.Filterable
import android.widget.TextView
import androidx.appcompat.app.AppCompatActivity
import com.google.android.material.chip.Chip
import com.google.android.material.chip.ChipGroup

class MainActivity : AppCompatActivity() {

    // Array containing all available items
    private val allItems = arrayOf(
        "Item 1", "Item 2", "Item 3", "Item 4", "Item 5",
        "Another Item 1", "Another Item 2", "Another Item 3"
    )

    private val selectedItems = mutableSetOf<String>()
    private val dropdownItems = allItems.toMutableList()
    private lateinit var autoCompleteTextView: AutoCompleteTextView
    private lateinit var chipGroup: ChipGroup
    private lateinit var adapter: CustomAdapter

    override fun onCreate(savedInstanceState: Bundle?) {
        super.onCreate(savedInstanceState)
        setContentView(R.layout.activity_main)

        autoCompleteTextView = findViewById(R.id.autoCompleteTextView)
        chipGroup = findViewById(R.id.chipGroup)

        adapter = CustomAdapter(dropdownItems)

        // Populate the AutoCompleteTextView with all items
        autoCompleteTextView.setAdapter(adapter)

        // Listen for item selection in the AutoCompleteTextView
        autoCompleteTextView.setOnItemClickListener { parent, view, position, id ->
            val selectedItem = adapter.getItem(position) ?: return@setOnItemClickListener
            if (selectedItems.contains(selectedItem)) {
                selectedItems.remove(selectedItem)
                removeChip(selectedItem)
            } else {
                selectedItems.add(selectedItem)
                addChip(selectedItem)
                autoCompleteTextView.setText("") // Clear the text when an item is selected
            }
        }

        // Listen for click on AutoCompleteTextView and show the dropdown
        autoCompleteTextView.setOnClickListener {
            autoCompleteTextView.showDropDown()
        }
    }

    // Method to add a chip to the ChipGroup
    private fun addChip(text: String) {
        val chip = Chip(this)
        chip.text = text
        chip.isCloseIconVisible = true

        // Listen for click on the close icon of the chip
        chip.setOnCloseIconClickListener { removeItem(text) }

        chipGroup.addView(chip) // Add the chip to the ChipGroup
    }

    // Method to remove an item from the selected items and update the UI
    private fun removeItem(text: String) {
        selectedItems.remove(text)
        removeChip(text)
    }

    // Method to remove a chip from the ChipGroup based on the text
    private fun removeChip(text: String) {
        for (i in 0 until chipGroup.childCount) {
            val child: View = chipGroup.getChildAt(i)
            if (child is Chip) {
                if (child.text.toString() == text) {
                    chipGroup.removeView(child)
                    break
                }
            }
        }
    }

    // CustomAdapter class responsible for filtering and displaying data in the AutoCompleteTextView dropdown
    private inner class CustomAdapter(private val data: MutableList<String>) : BaseAdapter(), Filterable {
        private val originalData: List<String> = ArrayList(data)
        private val itemFilter = ItemFilter()

        override fun getCount(): Int {
            return data.size // Return the number of items in the filtered data
        }

        override fun getItem(position: Int): String? {
            return data[position] // Get an item from the filtered data at a given position
        }

        override fun getItemId(position: Int): Long {
            return position.toLong() // Get the ID of an item in the filtered data at a given position
        }

        // Method responsible for creating and updating the view for each item in the dropdown
        override fun getView(position: Int, convertView: View?, parent: ViewGroup): View {
            val view: View = convertView ?: LayoutInflater.from(parent.context)
                .inflate(android.R.layout.simple_dropdown_item_1line, parent, false)

            val textView = view.findViewById<TextView>(android.R.id.text1)
            textView.text = getItem(position) // Set the text of the dropdown item to the current item in the filtered data
            return view
        }

        override fun getFilter(): Filter {
            return itemFilter // Get the custom filter used for filtering data in the AutoCompleteTextView
        }

        // Custom filter class responsible for filtering the data based on user input
        private inner class ItemFilter : Filter() {
            override fun performFiltering(constraint: CharSequence?): FilterResults {
                val filterResults = FilterResults()
                val filteredList = ArrayList<String>()

                if (TextUtils.isEmpty(constraint)) {
                    // If the constraint is empty, show all original data items
                    filteredList.addAll(originalData)
                } else {
                    // Filter the original data based on the constraint (user input)
                    for (item in originalData) {
                        if (!selectedItems.contains(item) && item.toLowerCase().contains(constraint.toString().toLowerCase())) {
                            // Add items to the filtered list that match the constraint and are not selected yet
                            filteredList.add(item)
                        }
                    }
                }

                filterResults.values = filteredList
                filterResults.count = filteredList.size
                return filterResults
            }

            override fun publishResults(constraint: CharSequence?, results: FilterResults?) {
                val filteredList = results?.values as? List<String>
                if (filteredList != null) {
                    data.clear()
                    data.addAll(filteredList)
                    notifyDataSetChanged()
                }
            }
        }
    }
}
Conclusion
In this tutorial, we successfully implemented a custom filterable multi-select dropdown in an Android application using Java/Kotlin and the Material Components library. Here’s a recap of what we accomplished:
- Created the activity_main.xml layout with an AutoCompleteTextView for the dropdown and a ChipGroup to display selected items as chips.
- Implemented the CustomAdapter class that extends ArrayAdapter and implements Filterable to handle the filtering and display of data in the AutoCompleteTextView dropdown.
- Enabled multi-select functionality by allowing users to select multiple items from the dropdown list. We added selected items as chips to the ChipGroup and provided an option to remove items by clicking on the chips.
- Utilized the Material Components library’s Chip and ChipGroup to display selected items as attractive chips.
The custom filterable multi-select dropdown is a versatile component that can be used in various scenarios to improve the user experience. For instance, it can be applied to tag selection, category filtering, or any situation where users need to select multiple items from a list while benefiting from a filtering feature.
Please Subscribe Youtube| Like Facebook | Follow Twitter Mens Winter Single Breasted Big Pockets Mid Long Casual Coats
 Mens Contrast Patchwork Flap Pocket Decoration Short Sleeve T-Shirts
 Orange Pi 800 Development Board 4GB RAM 64GB
 Mens Casual Corduroy Hooded Button Pocket Comfy Shirts
 E500 1.83 inch HD Screen ECG Monitor Heart Rate Blood Pressure
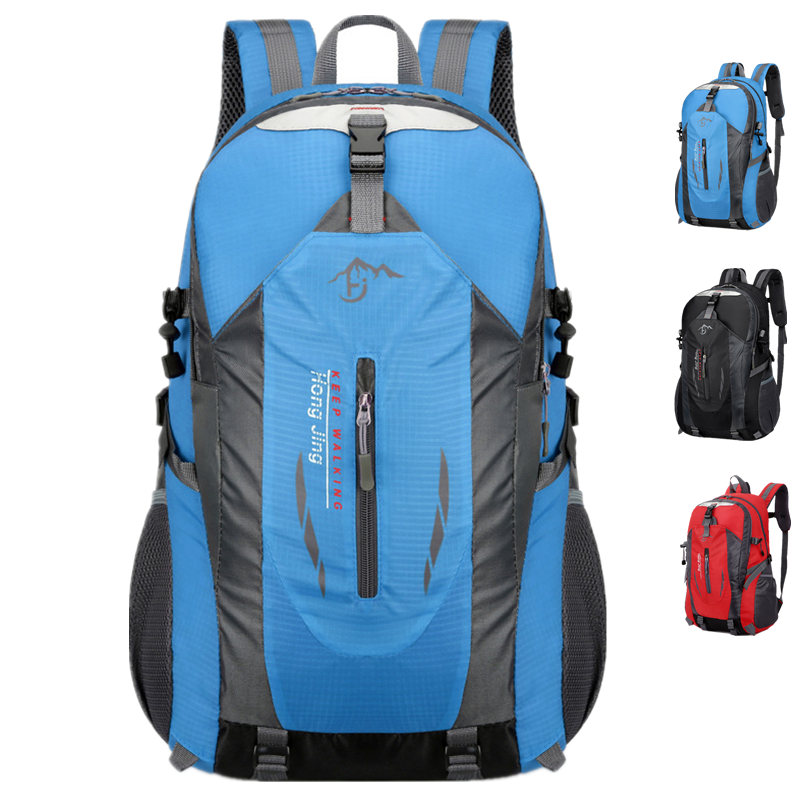 35L Outdoor Backpack Men Women Waterproof Travel Trekking Backpack
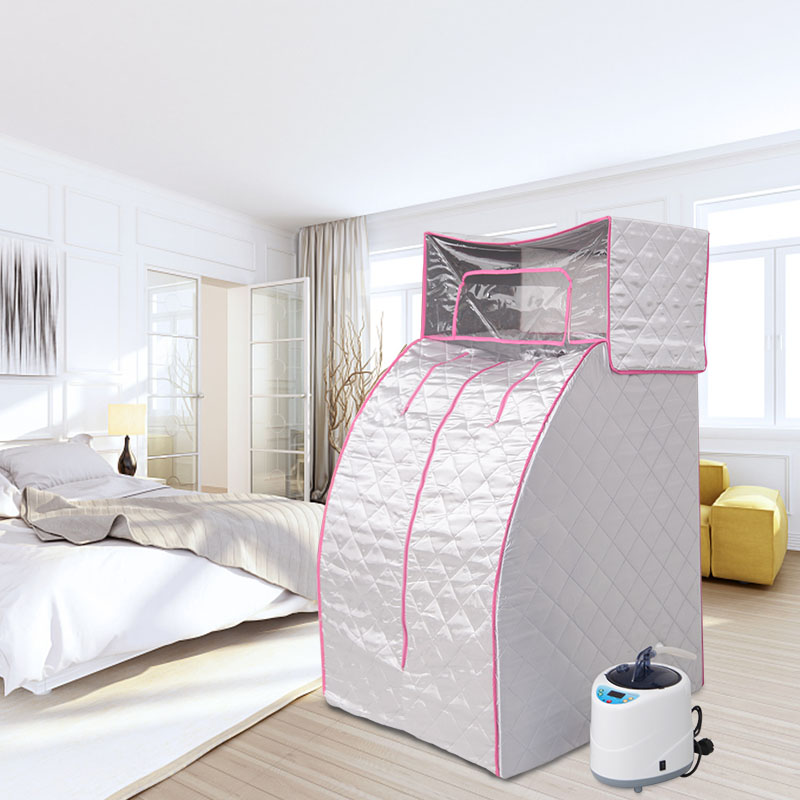 Home Steam Sauna Box Steam Room Fumigation Machine Steam Sauna Bath Sauna Heater
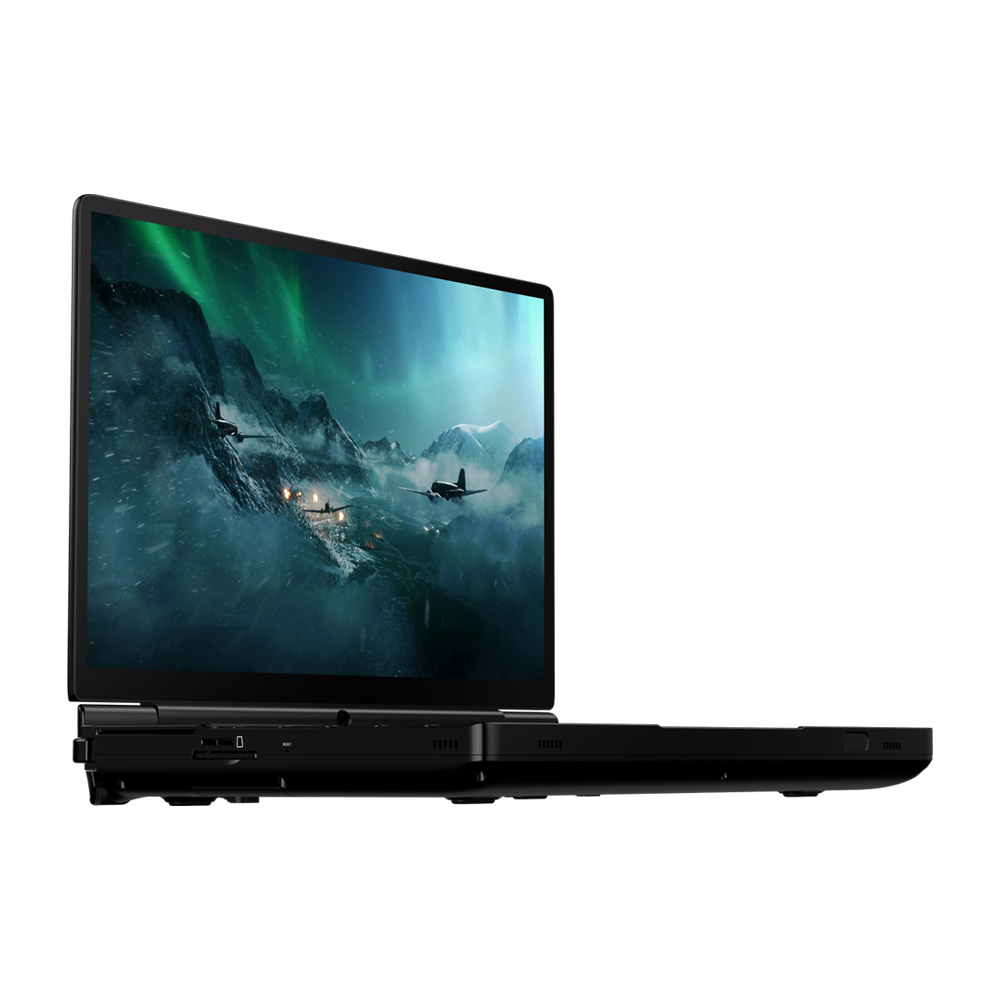 GPD WIN Max 2 LPDDR5 32GB RAM 2TB SSD AMD R7 6800U Windows 11 Gaming Notebook 10.1 Inch Laptop Portable Game Computer Handheld Game Console US Plug
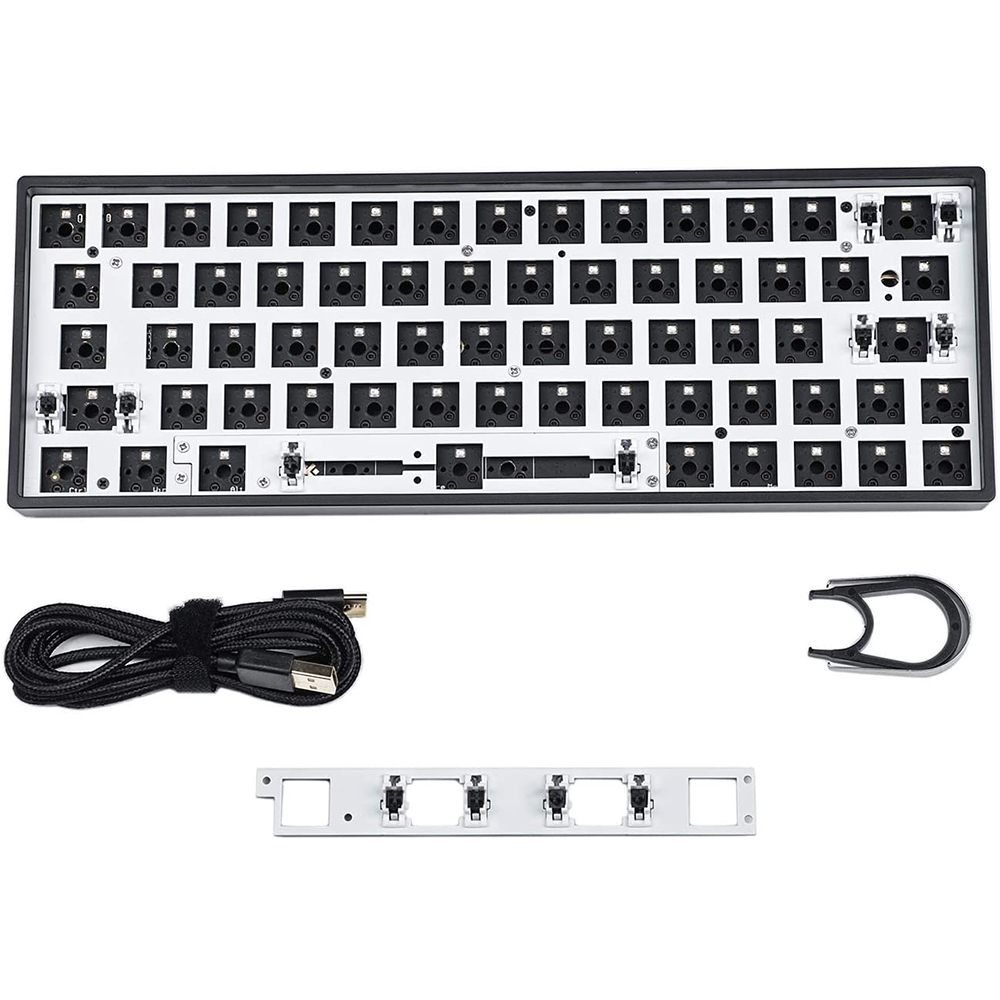 SKYLOONG GK64X GK64XS Keyboard Kit RGB Hot Swappable 60% Programmable bluetooth Wired Case Customized Kit PCB Mounting Plate Case with Replacable Space Key